
Explore Insights on Educational Travel Programs
Practical strategies, how-to guides, and thought pieces to help
educators and parents navigate student group travel.
educators and parents navigate student group travel.
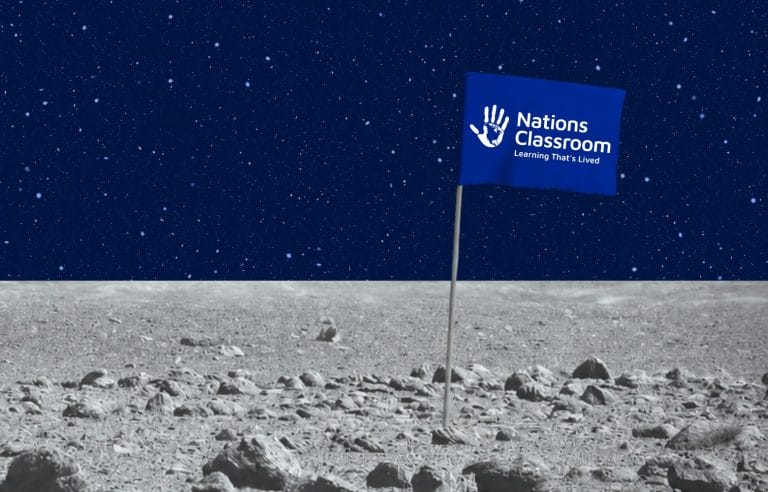
Artemis: A New Era of Lunar Exploration
Teachers today have something their Apollo-era counterparts never did. When Apollo 11 landed in 1969, students watched history happen once and then spent decades reading about it. Artemis is different. It is unfolding right now, mission by mission, giving today’s students the opportunity to follow humanity’s return to the Moon as it happens. More than...
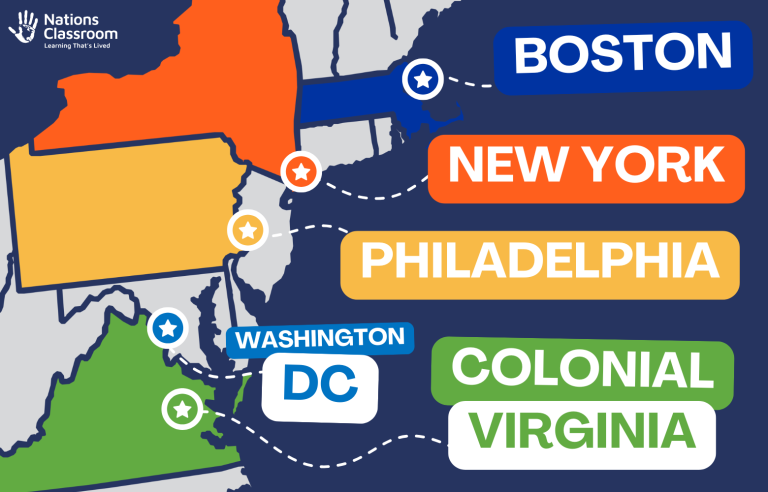
Top Tour Sites for East Coast Student Trips
Every NationsClassroom school trip is designed around your students, your curriculum, and your learning objectives. Rather than following a one-size-fits-all itinerary, each educational tour is customized to give students meaningful, hands-on experiences that reinforce what they’re learning in the classroom. To help you explore what’s possible, we’ve highlighted some of the destinations our team recommends...
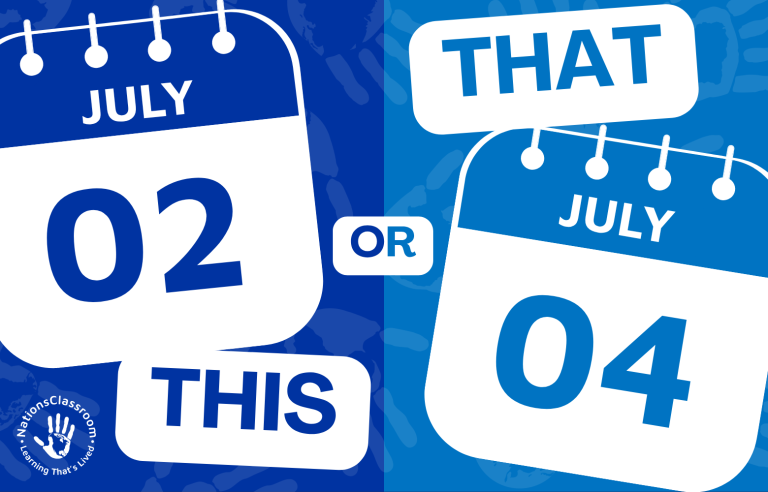
Independence Day: Is it July 2nd or July 4th?
Every year, Americans celebrate the Fourth of July with fireworks, parades, patriotic traditions, and family gatherings. But have you ever wondered why we celebrate Independence Day on July 4th when the Continental Congress actually voted for independence on July 2, 1776? It’s one of the most common questions about the history of the Fourth of...


The Most Frequently Asked Questions for Teachers and Parents
We're Here to Help You Feel Confident Every Step of the Way
Clear answers, helpful guidance, and the support you need, whether you're leading a trip or preparing your child for travel with NationsClassroom.
